
As any video producer will tell you, capturing high-quality audio is just as important as shooting great footage. When it comes to recording dialogue, achieving the right levels is crucial for ensuring that your audience can hear everything clearly and enjoy a seamless viewing experience. But, at What Level do you Record Dialogue?
In this article, we’ll discuss what level you should record dialogue at and provide some tips on how to achieve the best possible sound quality. For the best understanding of the recording levels for vocals and dialogues, we will demonstrate the proper ways to record dialogue in this article.
What Level Should You Record Dialogue at?
The ideal level for recording dialogue is between -12dB and -6 dB. This provides enough headroom for any sudden increases in volume without causing distortion, while also ensuring that the dialogue is loud enough to be heard clearly.
It’s important to note that this level is not a hard and fast rule. Depending on the specifics of your recording environment, you may need to adjust the levels slightly to achieve the best possible sound quality. However, aiming for a level between -12dB and -6dB is a good starting point.
It’s worth noting that some cameras and recording devices have built-in limiters that can help prevent clipping and distortion. If your equipment has this feature, it’s a good idea to enable it to ensure that you don’t accidentally ruin your audio.
A quick guide to know What Wattage Soundbar Do I Need?
Proper Audio Recording Levels
Digital recording levels refer to the amplitude of the audio signal being recorded in a digital format. They are typically measured in decibels relative to full scale (dBFS). Unlike analog recording, which can handle overloading up to a point, digital recording levels should not exceed 0 dBFS to avoid clipping and distortion.
To ensure optimal recording levels, it is recommended to set the peak level around -12 dBFS to -6 dBFS, providing sufficient headroom for unexpected loud sounds.
In this case, certain factors keep on changing according to your project. So, there is no specified level that you can use for all the recordings, but there is a range that you should keep in mind while recording. For some instances, it goes to -20 dB, but it stays between -10 to 20 dB for most.
Tip: Always use a limiter to keep yourself aware of the peak.
If you are the one that cares about the audio quality, then the most reliable Level where you can record dialogue is the -10 dB to -14 dB or mostly -12 dB. In this scenario, you will not be hitting the 0, resulting in the loss of whole audio recordings, and you can even recover through post-prod mixing. The recording studio dB level should usually be around 30 dB, not more than that, as exceeding will lead to distortion.
Tips For Achieving The Best Possible Sound Quality
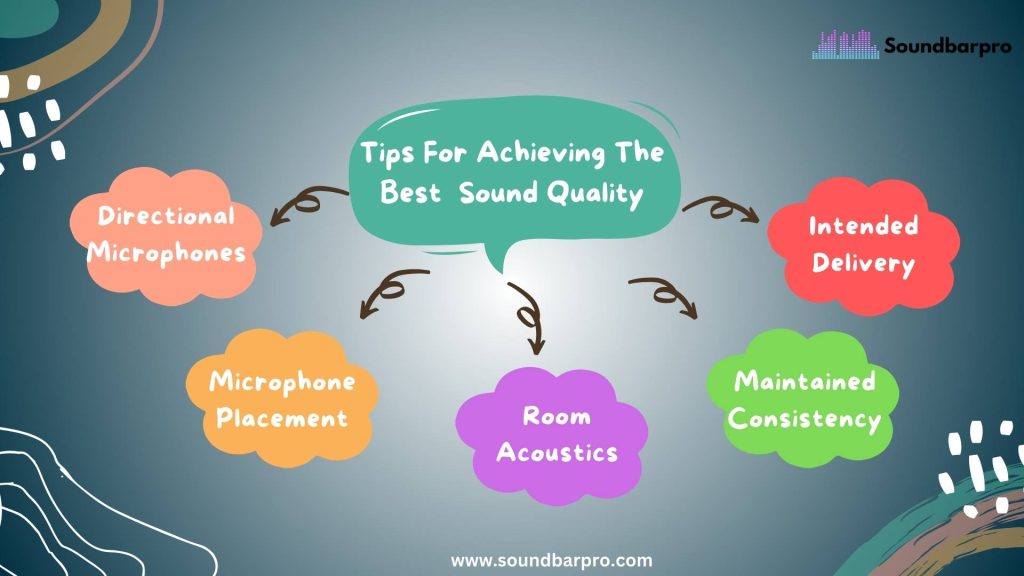
Now that we’ve established what level you should aim for when recording dialogue, let’s take a look at some tips for achieving the best possible sound quality.
Before digging more, you can learn here Dimensions The Wet Sounds Stealth 10.
Use Directional Microphones
Directional microphones, such as shotgun or lavalier microphones, are great for recording dialogue because they help to isolate the sound source and reduce background noise. When recording dialogue, it’s best to use a directional microphone and place it as close to the person speaking as possible. This will help to capture the sound of their voice while minimizing any unwanted background noise.
Pay Attention to Microphone Placement
Microphone placement is also crucial for achieving the best possible sound quality when recording dialogue. As mentioned above, it’s best to place the microphone as close to the sound source as possible. However, you’ll also want to pay attention to the angle and distance of the microphone relative to the person speaking. Experiment with different microphone placements to find the one that works best for your specific recording environment.
Pay Attention to Room Acoustics
Room acoustics can have a big impact on the sound quality of your recordings. If you’re recording in a large, reverberant room, for example, you may find that the sound is too echoey or boomy. To minimize these issues, you can try using sound blankets or other acoustic treatments to absorb some of the unwanted reflections and reverberation.
Maintain Consistency Throughout The Recording Process
Consistency is key when it comes to recording dialogue. This means not only recording at a consistent level but also maintaining consistent microphone placement and room acoustics throughout the recording process. This will ensure that the audio from different takes can be edited together seamlessly without any jarring changes in sound quality.
Consider The Intended Delivery Format
Finally, it’s important to consider the intended delivery format for the final video. Different platforms may have different loudness standards, and it’s important to ensure that your audio levels are appropriate for the intended audience. For example, if your video is going to be broadcast on television, you may need to conform to the loudness standards set by the ATSC or EBU.
If you are confused about what are the Best Settings For Samsung Soundbar, do check out our extensive guide on it.
Things to Look at Before Recording
Producers and viewers set the Dialogue as the number one element of the movie as it conveys a message. So, producers always advise recording it carefully. There are several things that you need to look at before recording dialogue. These things include:
- Microphones: Like VA and shotgun, both need to be perfectly intact.
- Recorder
- Transmitter
- A cable is much safer than a wireless system.
- Microphone Level
- Audiometers
- Look for connections
- The delivery Subject needs to speak clearly.
- Ideal Atmosphere.
Here are the steps to fix LG Subwoofer Not Connecting to Soundbar
How to Set Gain Levels For Recording?
To set gain levels for recording, start by setting the input level so that the loudest sound you expect to record hits around -12 dB to -6 dB on the meter. Then, adjust the gain level so that the signal is strong enough to be heard above any noise, but not so high that it clips or distorts. Continuously monitor the recording levels and adjust the gain as necessary to ensure consistent levels throughout the recording.
The gain refers to the input of the amplifier that powers that preamp. The preamp further controls the tone, the loudness of the dialogue, and the saturation of the signals. It would be best if you recorded usually, and there is no need to record too loud and never cross 0 dBFS. For best results, you need to set it to the -18 dB. It will avoid the possibility of clipping. The -18 dB will work with every signal and will produce reasonable results.
What Is The Optimal dB Level For Voiceover?
The average Level shouldn’t go beyond -12 dB. Due to its ability to scale up to total volume, it is the industry standard. You need to keep the Jump scares or loud moments of impact or make it with a -6 dB. The best target for voice and music right now is 4.5 and 20, respectively, for the Web, and it’s usually better to target an LKFS of 16 for the Web.
What Is The Best Level to Record Dialogue at?
The best level to record dialogue is around -12 dB to -6 dB on a digital audio workstation (DAW) meter. This provides enough headroom to avoid distortion and clipping while allowing for sudden spikes in volume. It’s important to maintain consistency in volume throughout the recording and use a pop filter or windscreen to reduce noise.
What Is an On-set Recording of The Ambient Sound of The Location Just For The Audio Called?
“On-set recording of the ambient sound of the location just for the audio is called “wild sound” or “wild lines.” Production teams usually record this separately from the dialogue to capture natural sounds like wind, traffic, or other environmental sounds.
The recorded sounds add depth and realism to the final mix or fill in gaps in the sound design. Furthermore, wild sound can create a library of sound effects for future use.”
Takeaway
Recording dialogue at the right level is crucial for achieving high-quality audio in video production. To capture clear and consistent audio that enhances the overall viewing experience for your audience, pay attention to factors such as microphone choice, placement, and room acoustics. Aim for a level between -12dB and -6dB, but don’t be afraid to experiment to find the settings that work best for your specific recording environment. For more informative pieces of content, head to SoundbarPro!